Summary:
Why New Asphalt Driveway Installation Matters in Roseville, NJ
Roseville homeowners face unique challenges that make proper asphalt installation critical. New Jersey’s climate isn’t gentle on pavement—we get everything from freezing winters to scorching summers, with plenty of rain in between.
When water seeps into tiny cracks and freezes during winter, it expands and pushes your pavement outward. Then it thaws and contracts again. This constant freeze-thaw cycle creates stress that turns small cracks into major problems within just a few seasons.
That’s why starting fresh with a new asphalt driveway installation gives you the foundation you need to handle whatever weather throws at you.
The Hidden Cost of Putting Off New Installation
Many Roseville homeowners try to stretch their old driveway’s life with patches and repairs. While that might seem budget-friendly upfront, it often costs more in the long run.
Here’s what happens when you delay new asphalt driveway installation: those small cracks you’re patching allow water to reach the base layer underneath. Once water gets into your foundation, it starts eroding the support structure. What started as a simple surface crack becomes a base failure that requires complete reconstruction.
We see this pattern constantly. A homeowner spends hundreds on crack filling and patching, only to need a complete replacement two years later anyway. The patches don’t address the real problem—a failing foundation that can’t support the surface anymore.
New installation means starting with a properly prepared base that’s designed to handle your specific soil conditions and drainage needs. Instead of throwing good money after bad with temporary fixes, you get a surface built to last 15-20 years with proper maintenance.
The math is simple: spending $8,000-12,000 on new installation once beats spending $1,000-2,000 on repairs every year or two, especially when those repairs don’t actually solve the underlying issues.
What Makes Roseville Different for Driveway Installation
Roseville’s location in Morris County means dealing with specific soil conditions and weather patterns that affect how your driveway performs. Local contractors who understand these conditions make installation decisions based on what actually works here, not generic approaches.
The soil composition in this area requires specific excavation depths and base preparation techniques. Some areas have clay-heavy soil that holds water, while others have sandy conditions that drain differently. Your contractor needs to assess your specific site and adjust the installation process accordingly.
Drainage is particularly critical in Roseville. Heavy spring rains and snowmelt need somewhere to go, and if your driveway doesn’t direct water away properly, you’ll have problems within the first few seasons. Professional installation includes grading that creates the right slope—typically 1-2% grade—to move water away from your home and prevent pooling.
Local building codes and permit requirements also vary by municipality. Experienced Roseville contractors handle this paperwork and ensure your installation meets all local standards without delays or complications.
The freeze-thaw cycles we experience here are among the most severe in New Jersey. That’s why the installation process must include adequate base thickness and proper compaction. Shortcuts during installation might save money initially, but they’ll cost you significantly when the base fails during the first harsh winter.
Want live answers?
Connect with a Platinum Paving expert for fast, friendly support.
The Complete 7-Step Asphalt Driveway Installation Process
Professional new asphalt driveway installation in Roseville follows a specific sequence that ensures long-term performance. Each step builds on the previous one, and skipping or rushing any phase leads to premature failure.
Understanding this process helps you evaluate contractors and know what to expect during your project. Quality installation takes time and attention to detail—be wary of anyone promising to rush through these steps.
Steps 1-3: Site Preparation and Excavation
The first step involves removing any existing driveway material and clearing the area completely. This isn’t just surface removal—everything needs to come out down to the subgrade to ensure a solid foundation. Any remaining concrete, old asphalt, or debris will create weak spots that cause problems later.
Next comes excavation to the proper depth, typically 8-10 inches depending on your soil conditions and expected traffic load. This depth allows room for the sub-base layer, base layer, and final asphalt surface. The excavation must be precise—too shallow and your driveway won’t have adequate support; too deep wastes materials and increases costs unnecessarily.
Site evaluation happens throughout this phase. Your contractor should assess drainage patterns, soil composition, and any areas that need special attention. Soft spots in the subgrade get identified and reinforced before moving forward.
The excavated area gets graded to create proper drainage slopes. Water must flow away from your home and off the driveway surface. This grading work determines how well your driveway performs during heavy rains and snowmelt seasons.
Compaction of the subgrade comes next. The exposed soil gets compacted with heavy rollers to create a stable foundation. Any organic material like roots or topsoil gets removed during this process, since these materials can decay and create settling problems over time.
Steps 4-7: Base Installation and Asphalt Application
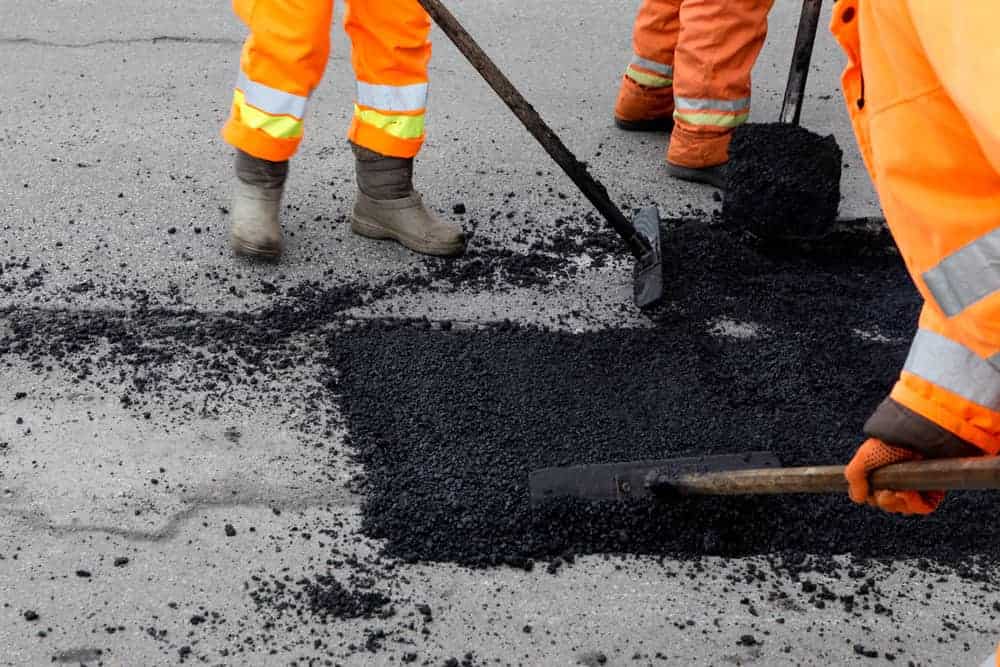
Step four involves installing the sub-base layer, typically 4-6 inches of crushed stone or gravel. This material provides structural support and acts as a frost barrier to reduce winter damage. The aggregate gets spread evenly and compacted thoroughly with vibratory rollers.
The base layer comes next—another 2-3 inches of coarser aggregate that gets compacted to create the final foundation for your asphalt. This layer must be perfectly level and properly compacted. Any soft spots or uneven areas will telegraph through to the surface and cause premature cracking.
Step six is the binder course application. This large aggregate mixed with oil creates a strong, durable layer that bonds the base to the surface course. The binder gets applied hot and compacted immediately with heavy rollers to achieve proper density.
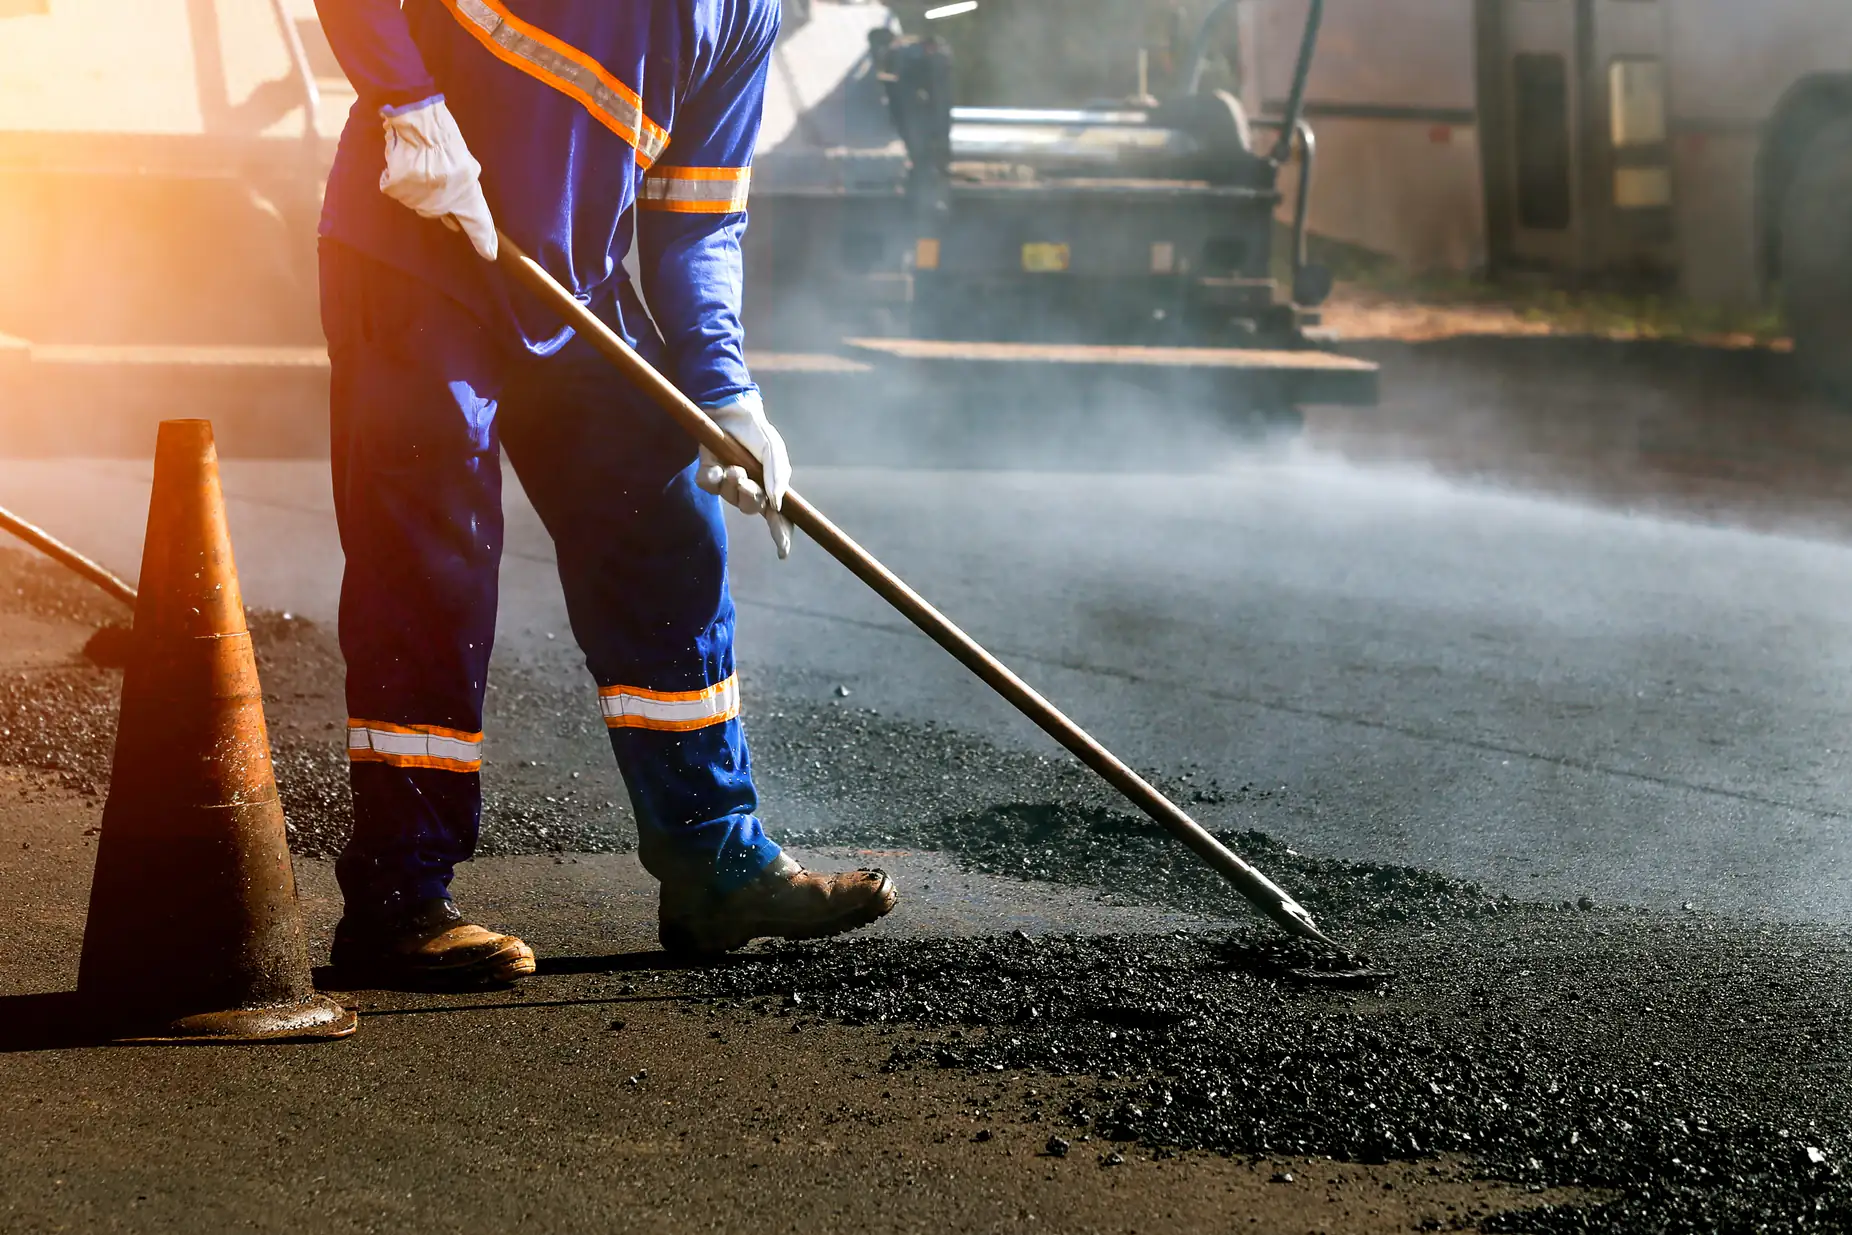
Finally, the surface course gets installed. This smooth asphalt layer contains smaller aggregate, sand, and oil to create that finished appearance. The material arrives hot from the plant and must be spread quickly and evenly, then compacted while still warm to achieve maximum density and durability.
Professional installation includes careful attention to edges, transitions, and final grading. The surface gets rolled multiple times with different types of equipment to ensure proper compaction throughout the entire thickness.
Choosing the Right Contractor for Your Roseville Installation
The quality of your new asphalt driveway installation depends entirely on your contractor’s experience and attention to detail. Not all paving companies are created equal, and the cheapest bid often leads to the most expensive problems.
Look for contractors with extensive local experience who understand Roseville’s specific conditions. They should provide detailed written estimates that break down each phase of work, not vague promises about “paving your driveway.” Quality contractors explain their process, discuss drainage solutions, and answer your questions thoroughly.
When you’re ready for professional installation that’s built to last, we bring over 20 years of experience to every Roseville project. We handle everything from permits to final cleanup, ensuring your investment provides decades of reliable service.